Well! I am finally writing a blog post! I am dying to become a “blogging” photographer, so I decided I would start out with one of my favorite things that I love to be…CRAFTY! I am going to be writing crafty blogs every once in a while…ones that feature fun DIY projects/props that are all photography related!! I have decided to name them “Crafty Corner”…I hope you enjoy!
~~~~~~~~~~~~~~~~~~~~~~~~~~~~~~~~~~~~~~~~~~~~~~~~~~~~~~~~~~~~~~~~~~~~~~
WHAT ARE WE GOING TO BE DOING EXACTLY?
We are going to be dyeing 24 awesomely vibrant cheesecloth wraps to use in newborn sessions! This project was VERY easy (and relatively cheap!!) It takes about an hour of your time, but in the end you have up to 24 AWESOMELY vibrant cheesecloth wraps to use for your newborn sessions!
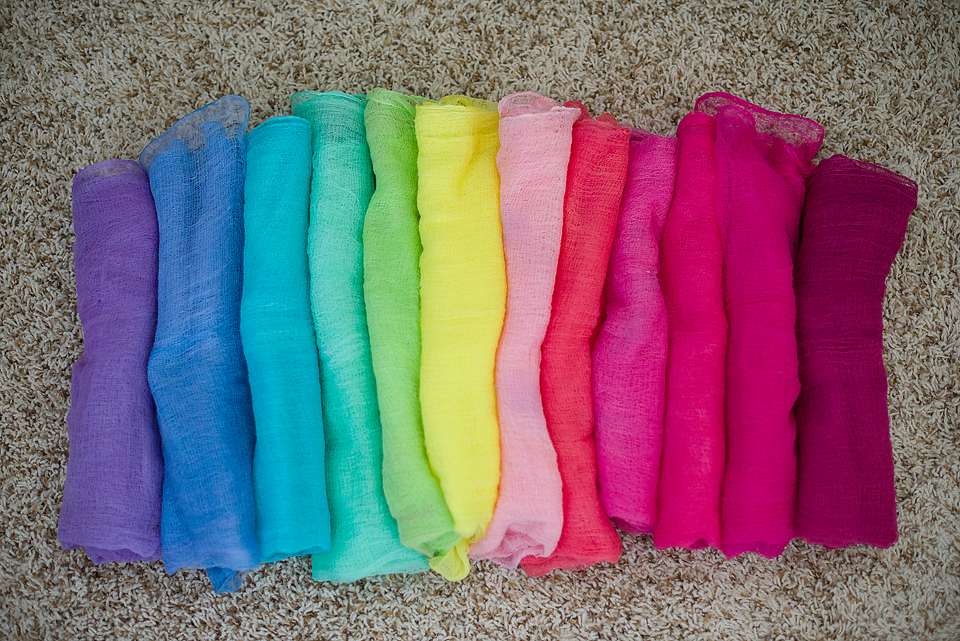
The colors you end up with are: Wine, Red, Fuchsia, Pink, Orange, Coral, Yellow, Lime, Green, Teal, Royal Blue, and Purple
WHAT YOU WILL NEED TO BUY (you can find all of these products at most craft stores!):
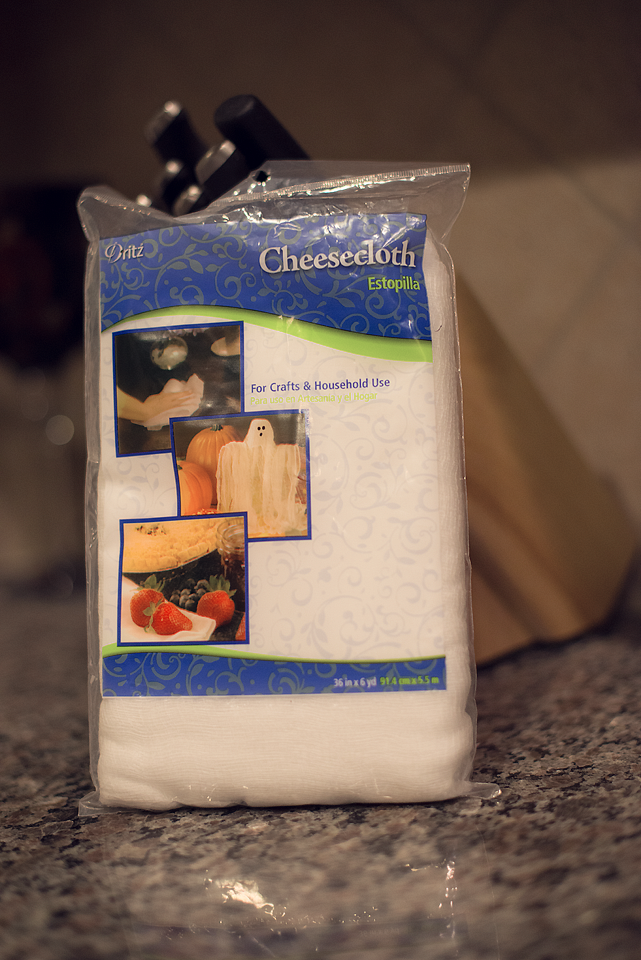
4 bags of cheesecloth (6 yards in each bag. Don’t make the mistake of buying the 4 yard bag) Each bag was about $5.
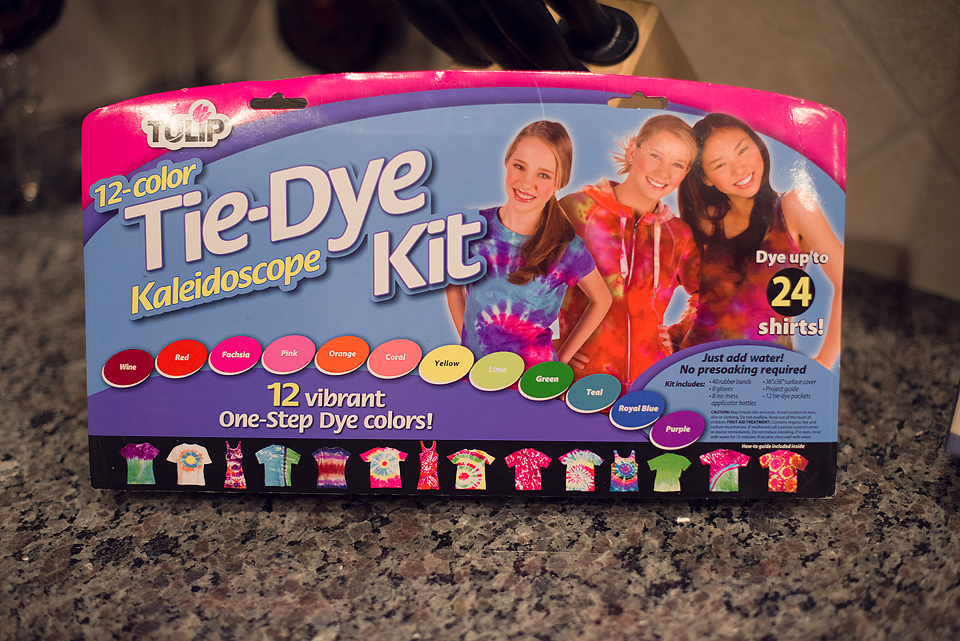
1 package of TYE DYE shirt dye. This particular package comes with 12 colors of dye. (This was $9.97 at WalMart) This kit comes with EVERYTHING you will need to dye including bottles, gloves, and a plastic covering to shield your countertops.
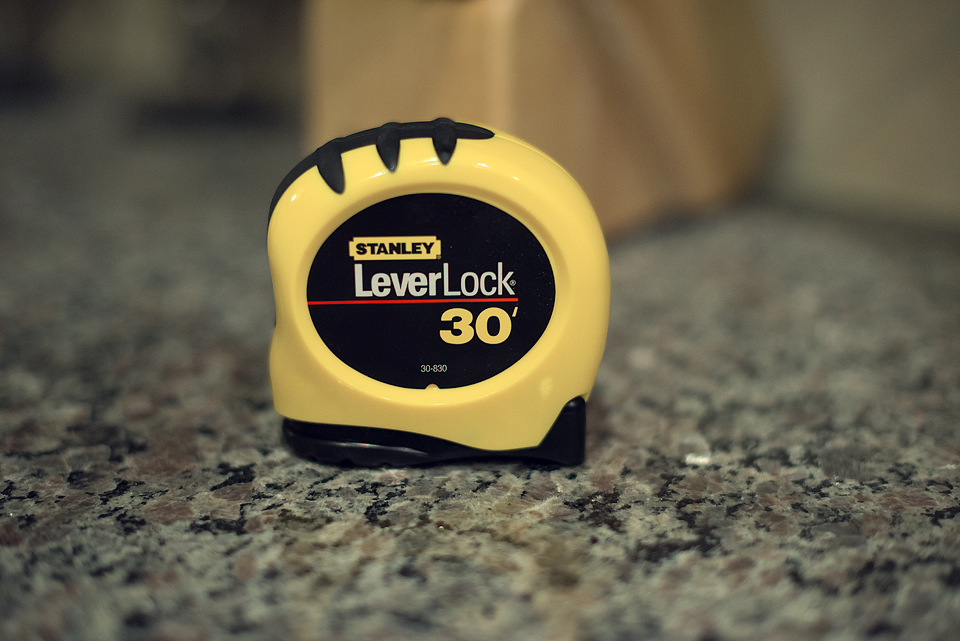
A measuring tape (all I could find was this one out of my husband’s toolbox, but anything will work, you are just measuring out 2 yard sections of cheesecloth)
GETTING STARTED:
First thing is you will need to measure out 12 2-yard strips of your cheesecloth. I just laid them flat on the countertop to measure and then made a pile of them next to the sink.
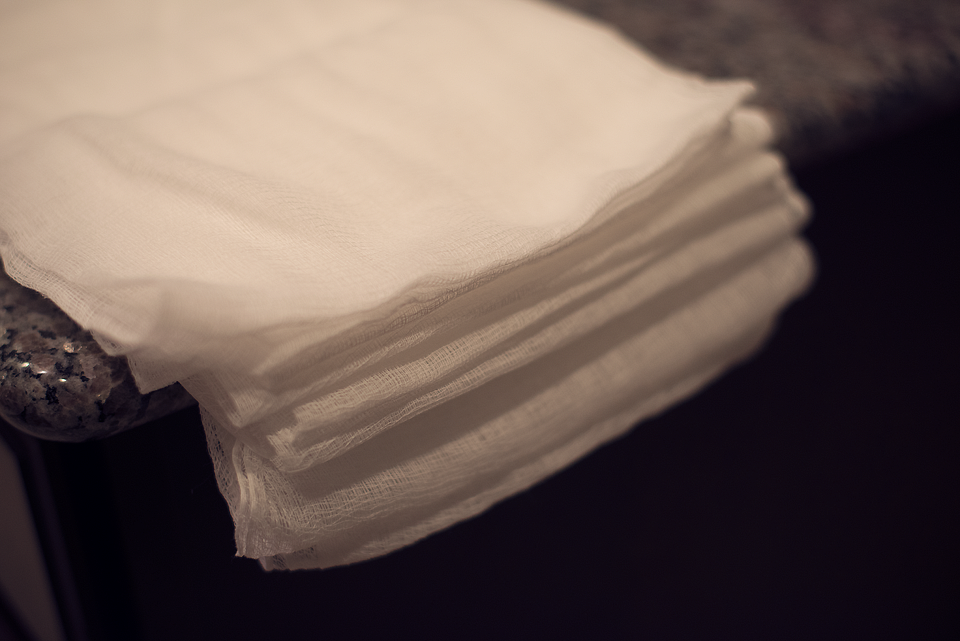
For the next part, I was sure to do this over the sink so I wouldn’t make a huge mess. Be sure to wear something that you wouldn’t mind getting dye on as it can get a little messy. Lay out the plastic sheet that the kit comes with so you can lay each piece of cheesecloth down as you dye it.
Mix your colors. This pack comes with the bottles you can use to mix each one. You just fill the bottle to the line with water and then shake the small packet of coloring into the bottle. Be sure to wear the gloves provided if you don’t want dye all over your hands. I went ahead and mixed 8 colors at a time so I could work faster…but that part is up to you (as there are 8 bottles provided in the kit.)
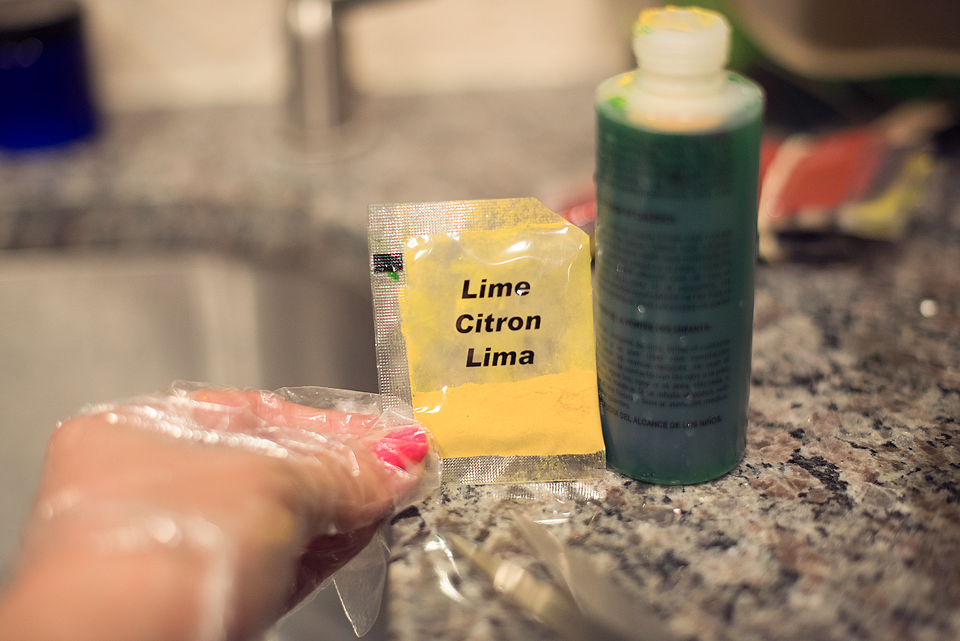
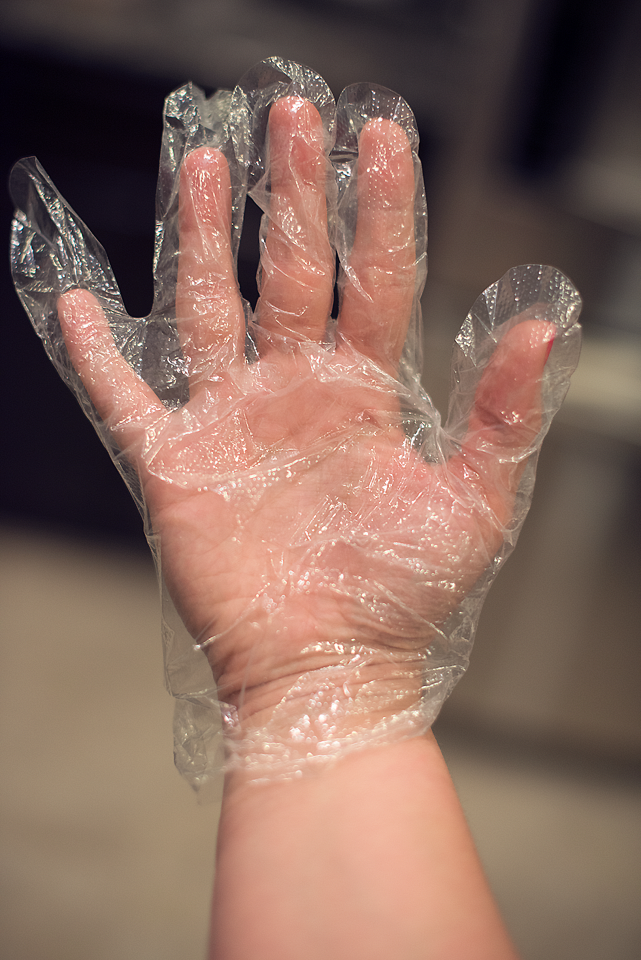
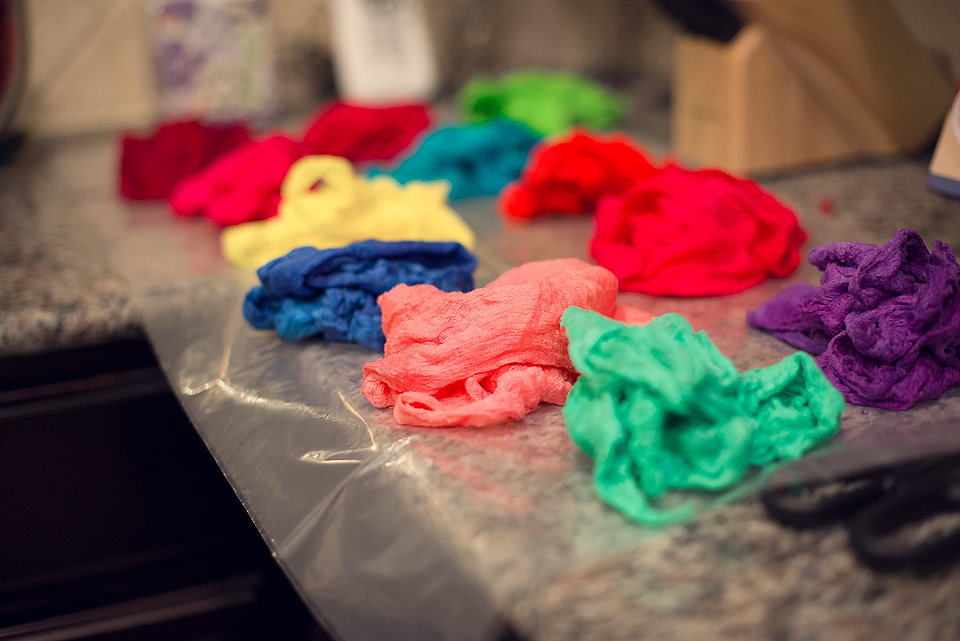
Saturate each piece of cheesecloth with each color of dye. as you finish, “wring” out the cheesecloth into the sink so that dye isn’t dripping all over the place and set each color onto the plastic sheet that is provided. When done, it should look like this.
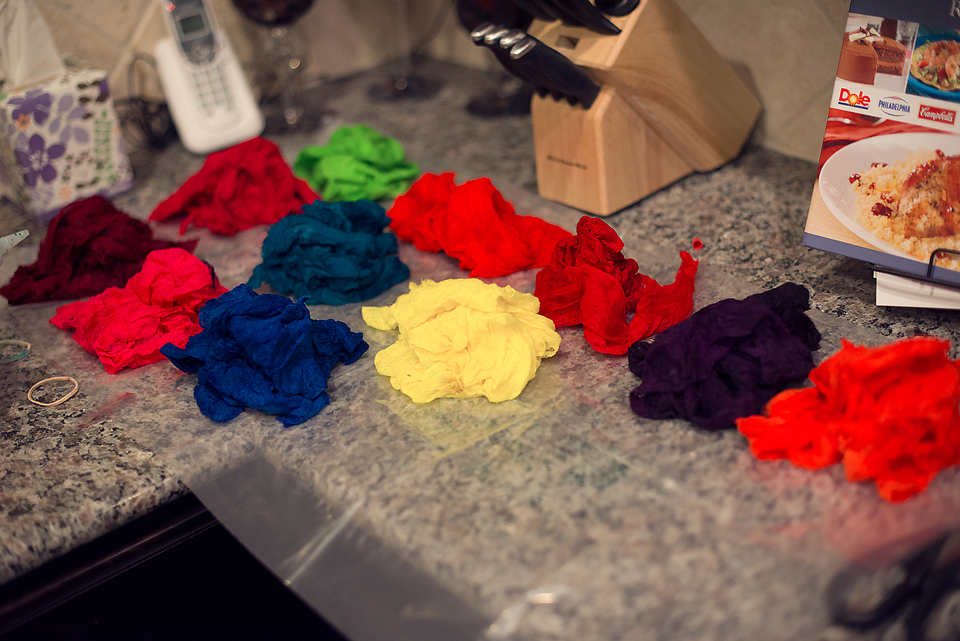
Let the colors sit for about 30-45 minutes. The box says to let it sit for 6-8 hours, but this isn’t needed since the “fabric” is super thin. You will still get the vibrant colors you are looking for.
After the 30-45 minutes have passed, rinse out each wrap until the water runs clear. This is super important as you aren’t actually going to be WASHING each wrap.
They should look like this after rinsed out.
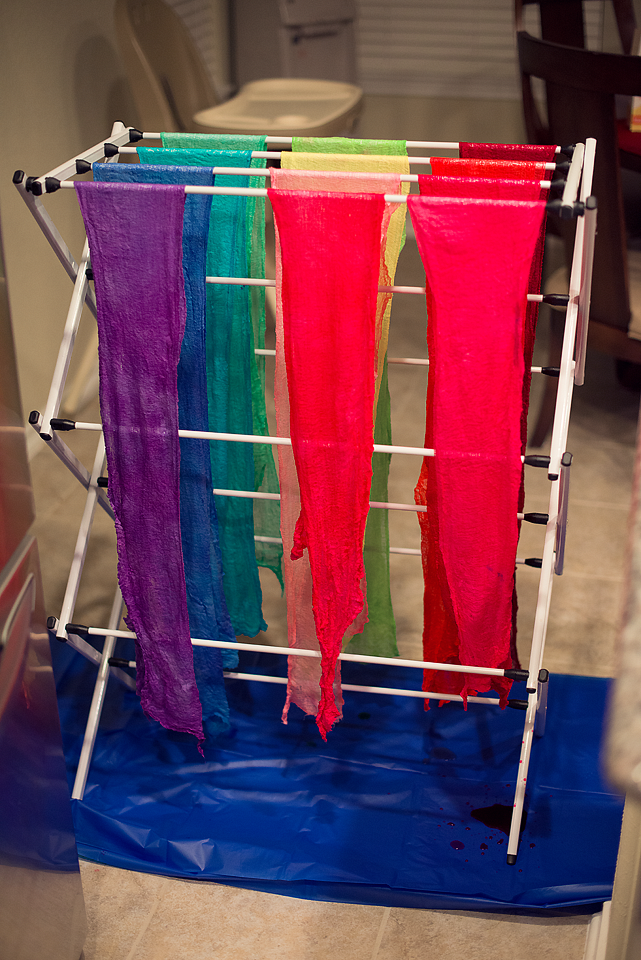
After you’re done, hang each wrap up to dry. I recommend hanging them up to dry and then “fluffing” them in the dryer to make them look nice.
WHEN THEY’RE DRY:
carefully pull the layers of each sheet apart. Now you will be able to wrap them around your newborns!
All done! Easy Peasy! 🙂 Now you have some awesome wraps to use in your future newborn photo sessions and it only cost about $30 and an hour of your time!
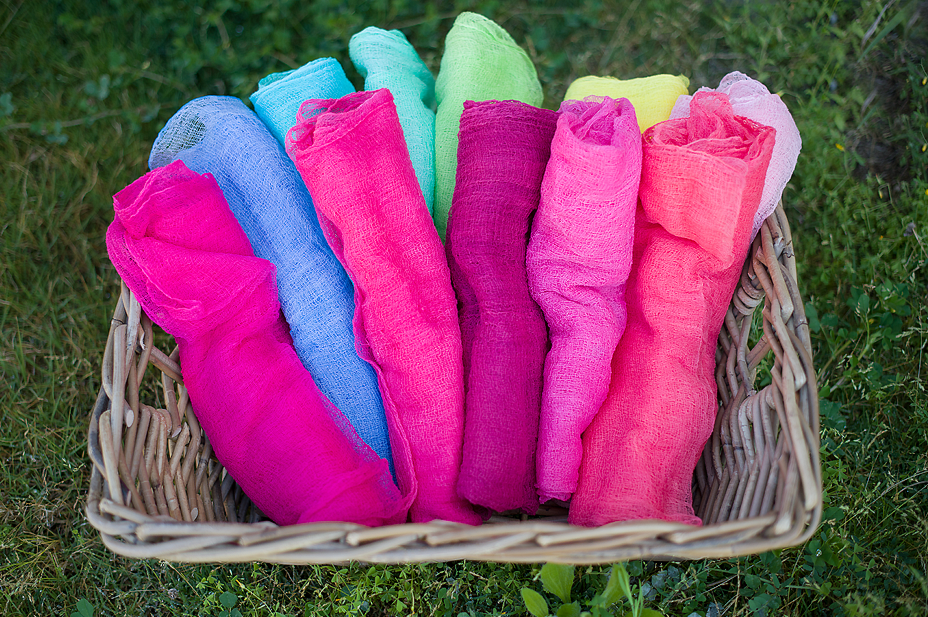
After you’re done, you can cut each long piece in half to have 2 1-yard wraps…or you can leave it to have 1 2-yard wrap of each color! 🙂
TO WASH:
If you don’t want your colors to fade as easily, hand wash each wrap in warm water with mild soap. If you would like softer colors, you can wash in the washing machine. Hang to dry and fluff in the dryer for 5 minutes.
Thanks for the tutorial! I was looking on Etsy for these wraps and they were selling for a minimum of $8 per wrap, plus shipping! To start, I only made 3 1-yard wraps, which turned out awesome BTW, for only $3.95 each. Plus, I still have dye left to make more at another time, which would make them even cheaper! Couldn’t be more happy that I came across your post. Thanks again!!
You’re quite welcome! I still use the ones that I made when I did that post…they’re great! I am glad you had a good experience with it! <3
Hi, would you maybe recommend just adding more water to the dye (or maybe rinsing the cloth sooner?) if you didn’t want the colours to be as vibrant?
If you don’t want the colors to be as vibrant, id suggest dyeing with the “RID” dye brand. 🙂
Thanks for this post. It was incredibly helpful.
AWSOME AWSOME AWSOME!!!!
So cool, thanks for sharing